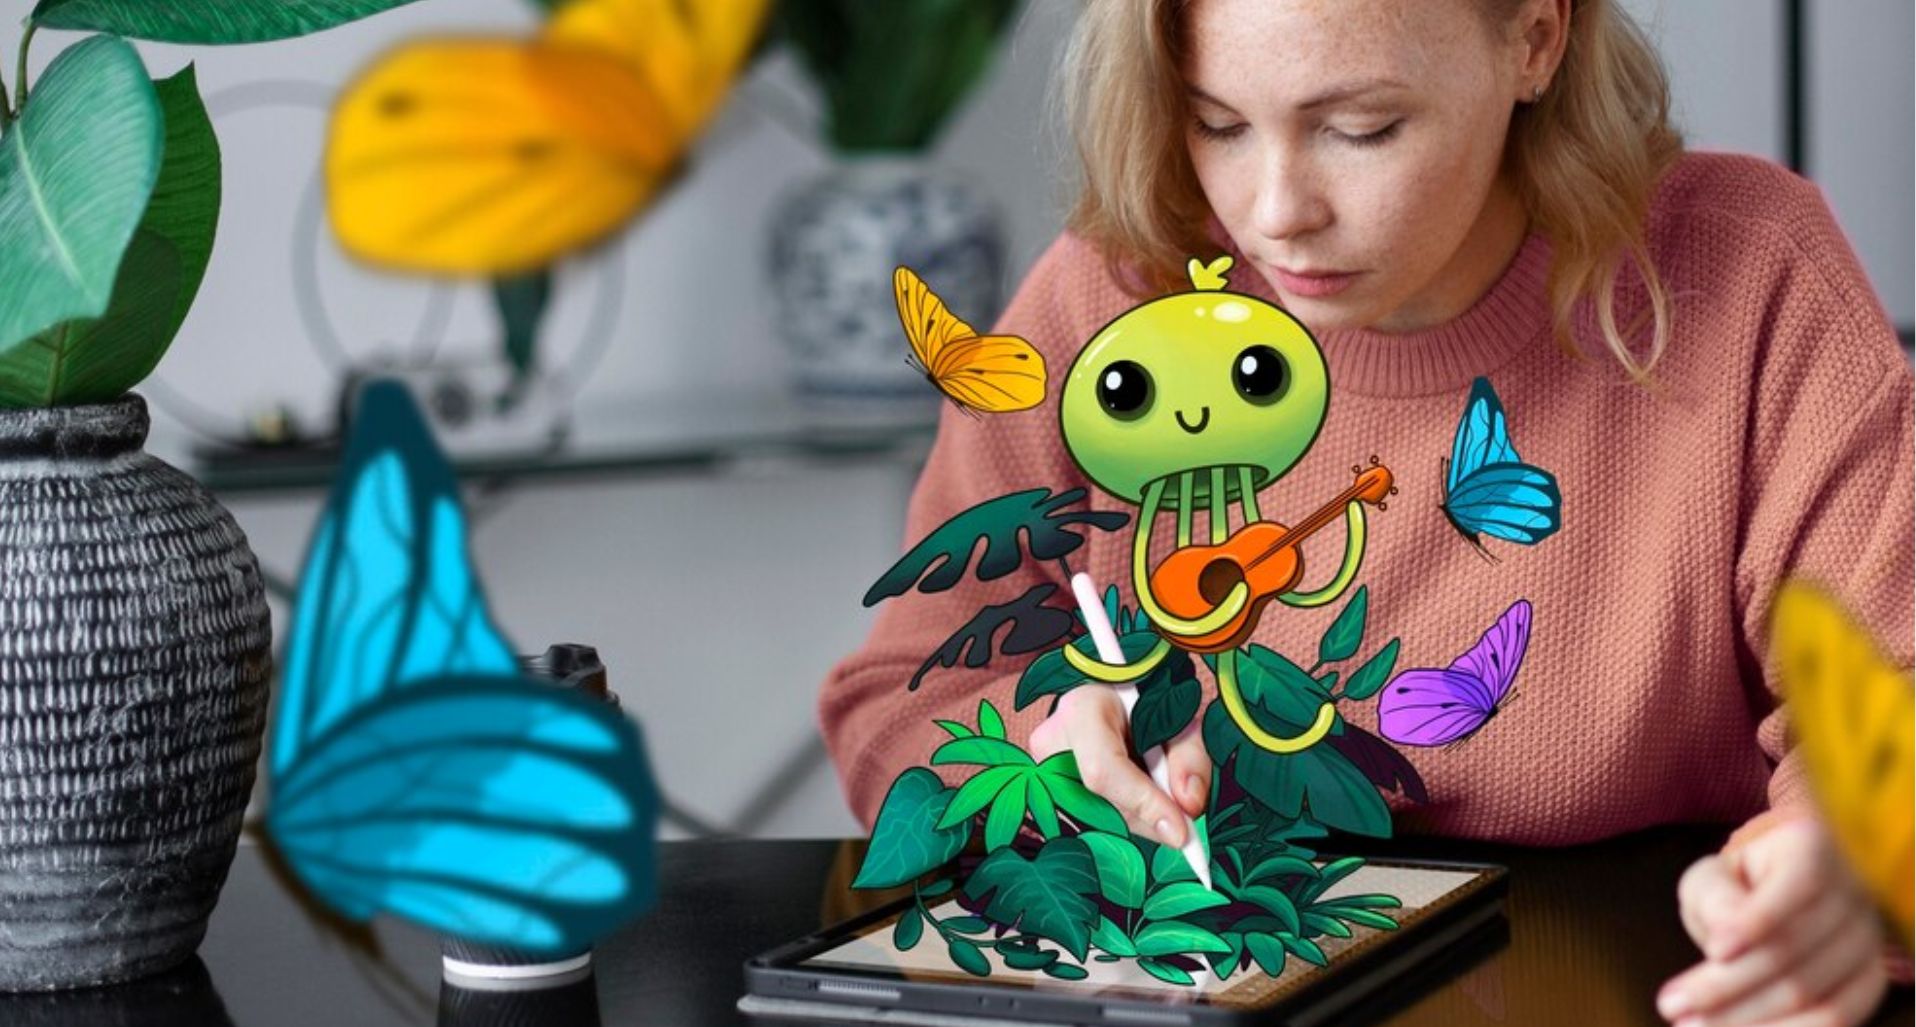
Creating 3D illustration images can be a fulfilling artistic endeavor that adds depth and realism to your work. Whether you’re a beginner or an experienced artist looking to refine your skills, this guide will walk you through the process of drawing 3D illustrations. Let’s dive into the key steps, techniques, and tools needed to bring your ideas to life in three dimensions.
1. Understanding the Basics of 3D Illustration
Before you start drawing, it’s essential to understand what makes an image appear three-dimensional. The primary elements include:
- Perspective: How objects appear smaller as they get further away, creating a sense of depth.
- Shading and Lighting: How light interacts with objects to create shadows and highlights, giving them form and volume.
- Proportions and Scaling: The relative size of objects to one another, which contributes to the illusion of depth.
Familiarizing yourself with these concepts will help you create more convincing 3D illustrations.
2. Gather Your Tools
Depending on your preference, you can create 3D illustrations using traditional media (like pencils, pens, and paper) or digital tools (such as drawing tablets and software like Adobe Illustrator, Procreate, or Blender).
Traditional Tools:
- Pencils of varying hardness (H for lighter lines, B for darker and shading)
- Erasers for correcting and softening edges
- Rulers for precise lines and perspective grids
Digital Tools:
- Drawing tablet or stylus
- Software that supports layers, brushes, and 3D modeling features
- Tutorials and templates for practice
3. Start with Basic Shapes
Begin by sketching basic shapes like cubes, spheres, and cylinders. These forms are the foundation of all 3D drawings. Understanding how light interacts with these simple forms will make it easier to apply the same principles to more complex objects.
- Cube: Practice drawing cubes from different angles. Focus on keeping the lines parallel and the faces proportional.
- Sphere: Work on shading to give a circle the appearance of a sphere. Concentrate on the light source and how it creates a gradient across the surface.
- Cylinder: Combine the techniques used for cubes and spheres to create a convincing cylindrical shape, paying attention to how the circular ends taper as they recede.
4. Mastering Perspective
Perspective is the key to creating depth in your illustrations. The most common types are:
- One-Point Perspective: All lines converge to a single point on the horizon. This is great for simple scenes, like a road or hallway.
- Two-Point Perspective: Uses two vanishing points on the horizon, often used for architectural drawings or more dynamic compositions.
- Three-Point Perspective: Adds a third vanishing point above or below the horizon, giving a dramatic sense of height or depth, often used for towering buildings or deep chasms.
Practice drawing scenes with different perspectives to get comfortable with this concept.
5. Add Shading and Lighting
Shading is what turns a flat drawing into a 3D illustration. By understanding how light falls on objects, you can create shadows and highlights that give your shapes volume.
- Identify the Light Source: Determine where the light is coming from in your scene. This will dictate where the shadows and highlights appear.
- Apply Gradients: Use gradients to show how light transitions across surfaces. Softer shading is typically used on round objects, while harder edges might be more appropriate for angular forms.
- Cast Shadows: Objects cast shadows on other surfaces. Drawing these shadows accurately helps ground the object in space and adds realism.
6. Refine with Details and Textures
Once the basic forms are shaded, add details and textures to make the illustration more convincing.
- Surface Texture: Consider the material of the objects. Is it smooth, rough, shiny, or matte? Use different brush strokes or shading techniques to represent these qualities.
- Details: Add finer details like creases, reflections, or imperfections that make the object look more realistic.
- Atmospheric Perspective: For scenes with a lot of depth, objects further away should be less detailed and have lighter, less saturated colors.
7. Practice and Experiment
As with any skill, practice is crucial. Experiment with different techniques, tools, and styles. Try replicating 3D objects from real life or create your scenes. The more you practice, the better you’ll understand how to manipulate perspective, shading, and texture to create convincing 3D illustrations.
Conclusion
Drawing 3D illustrations is a skill that combines technical understanding with artistic creativity. By mastering the basics of perspective, shading, and detail work, you can create stunning images that leap off the page or screen. Whether you’re sketching in a notebook or using digital software, the key is to practice consistently and push the boundaries of your imagination.
Happy drawing!

